Get started
Phota Studio works from a profile you train on your own photos. Once that profile exists, every edit and generation keeps you looking like you. This guide walks through training the profile, then creating with the playground it unlocks.
Train your first profile
A profile is a private model of one person or pet. Nothing else in Studio works until you have one.
- 1.
Open the Profiles page. It lists every profile on your account, and it is where training starts.
- 2.
Press Add. The Add button at the bottom of the page opens a new, empty profile. Find People beside it does something different: it searches photos you have already uploaded.
- 3.
Name them. Type the person or pet’s name into the Name field. This is the name you will tag them by later, so keep it short and distinct from your other profiles.
- 4.
Add their photos. Drag files straight onto the panel, or use Upload from Google Photos or Upload from Phone. The counter tracks how many have been accepted. Which photos you pick matters as much as how many: what makes a good training set.
- 5.
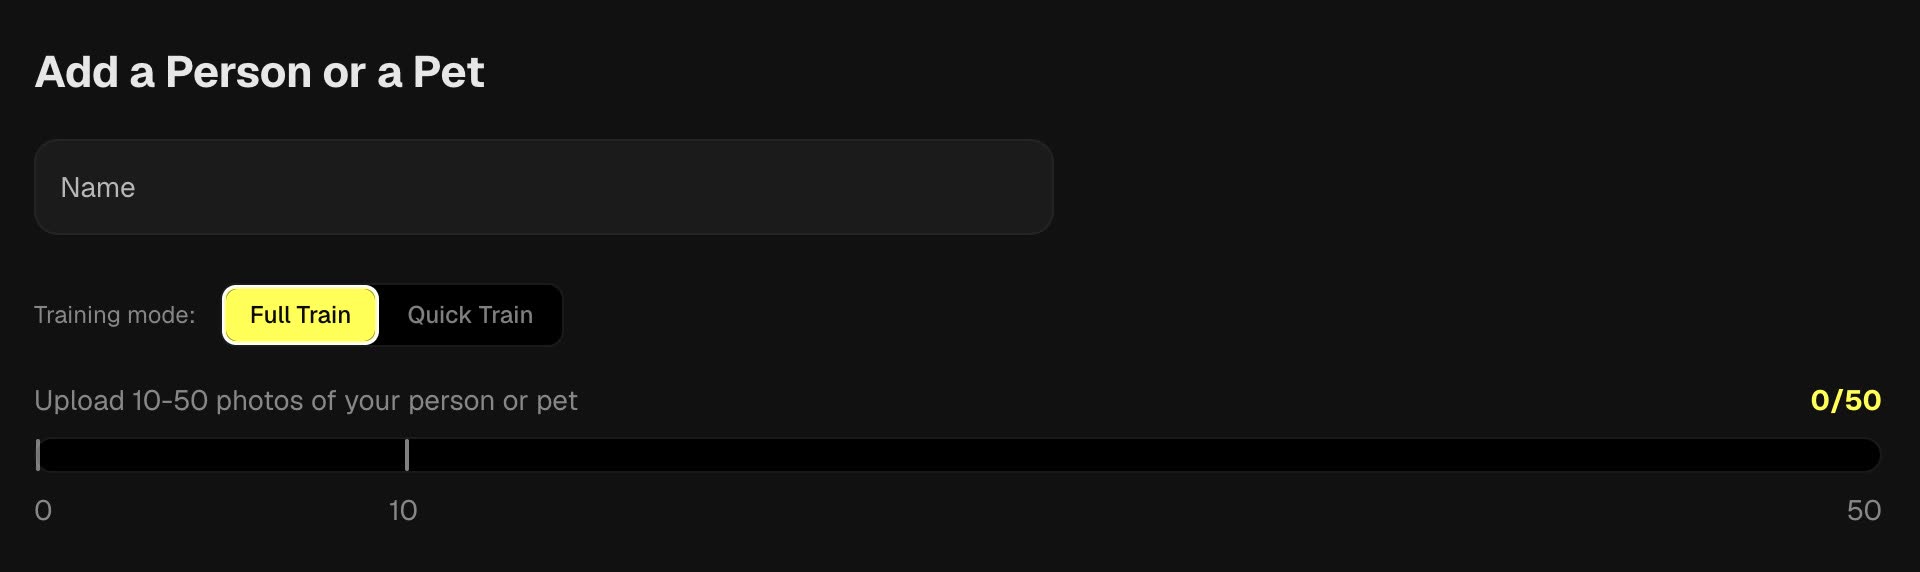
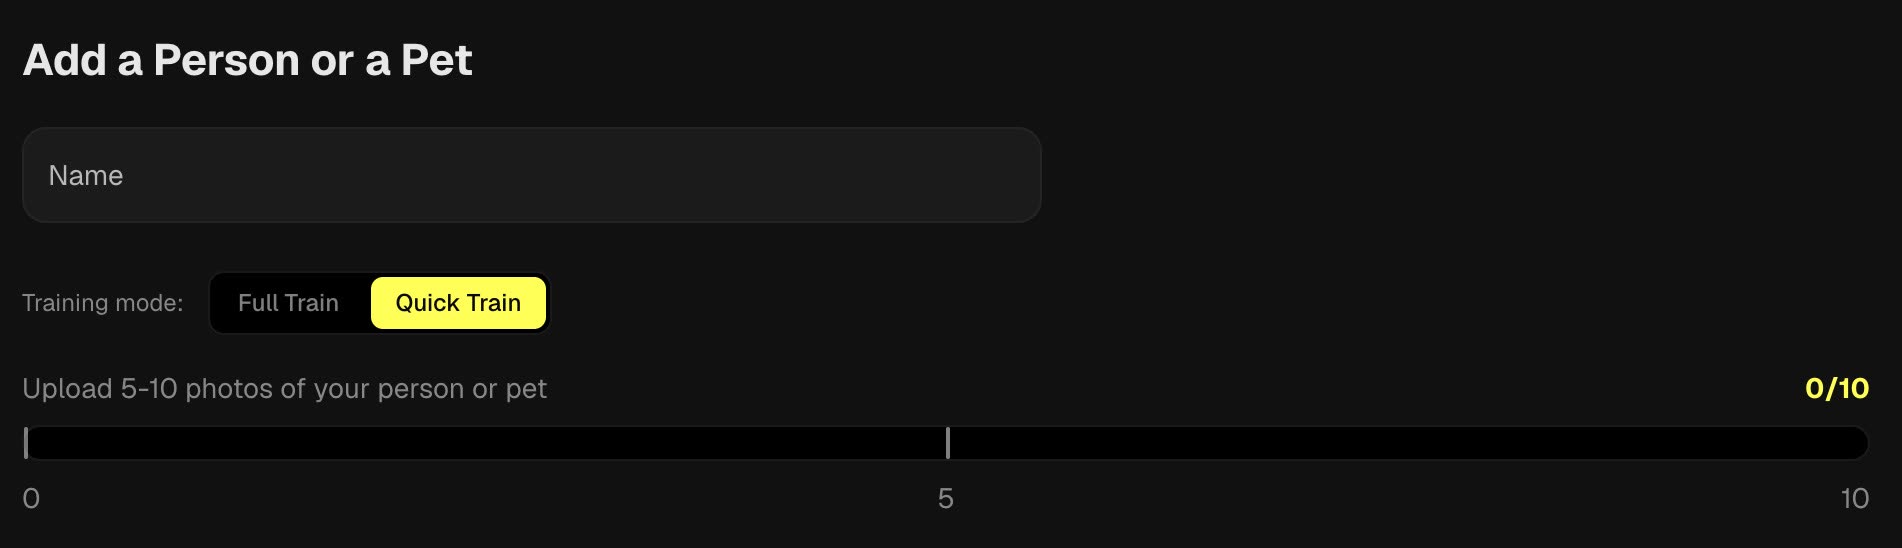
Pick a training mode. Full Train or Quick Train, using the toggle above the counter. The one you pick changes how many photos the panel accepts, which is why the counter target moves with it.
- 6.
Press Create. Training spends one subject token and takes about fifteen minutes. The status moves through Validating, then Queuing, then Training. You can leave the page while it runs.
Quick Train or Full Train
- Quick Train
- 5 to 10 photos. The faster turnaround, and enough to try Studio out on someone you have few photos of.
- Full Train
- 10 to 50 photos, and the mode to use for anyone you will generate with regularly. Quality keeps improving up to 50, so aim for the full set rather than the minimum.
What makes a good training set
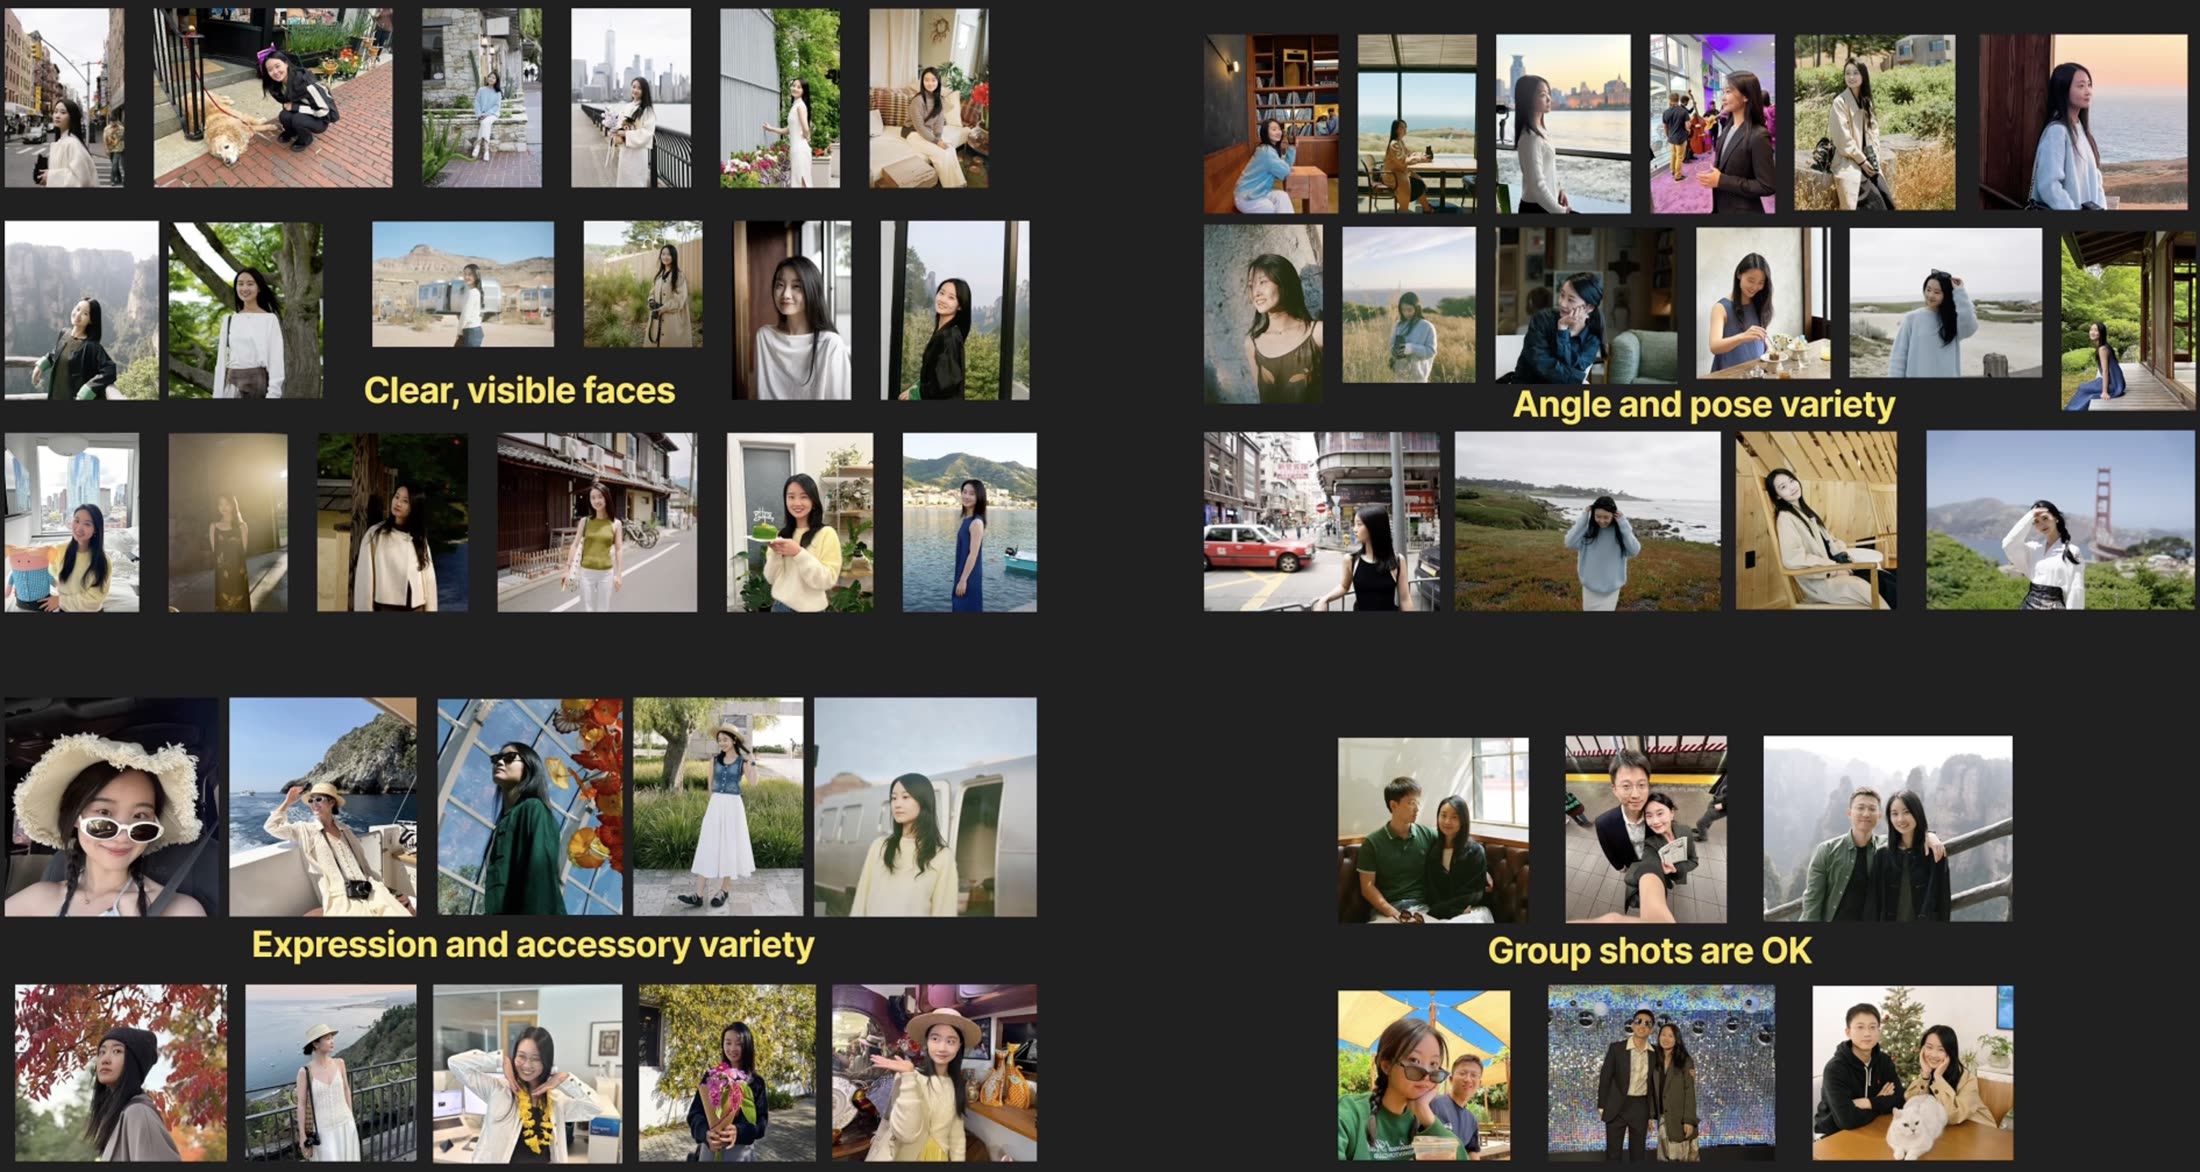
Two things decide how good a profile turns out: how many photos you give it, and how different they are from each other. Fifty near-identical frames from one afternoon teach the model one lighting setup and one expression. Twenty photos across years, places, lighting, and moods teach it what you look like.
- Clear, visible faces
- The face should be readable: in focus, lit well enough to see, and big enough in the frame. Vary the light across the set. Daylight, indoor light, evening, and shade all help.
- Angle and pose variety
- Straight on, three-quarter, profile. Looking at the camera and away from it. Close-up portraits, upper body, and a few full-length shots.
- Expression and accessory variety
- Different expressions, hairstyles, hats, sunglasses, different clothing. Photos from different years are good, not a problem.
- Group shots are fine
- You do not need solo photos. A shot with other people in it works, as long as the face you are training is big and clear enough to read.
- Leave out
- Near-duplicates from a single burst, heavy filters, and anything low resolution or motion-blurred.
Generate, Editor, and Actions
One screen, three modes — split by what you start from: a prompt, a photo, or a one-click action.
The playground is one screen. The canvas holds your photos and results; the command bar docked beneath it is where everything is asked for; and the timeline on the right keeps every creation. The switcher in the bar’s footer moves between the three modes. In Actions and Editor you add photos right on the canvas — click the add tile, pick from Google Photos or your trained people, or drop a file anywhere.
Sending works like chat. Press Create (or Enter) and the creation starts on the canvas while the bar clears for your next idea — you never wait for one to finish before starting another. Click any item in the timeline to see its full recipe, and press Revise to load it back into the bar to tweak and resend. New, pinned at the top of the timeline, always starts you fresh.
The three modes
- Text to Image
- Describe the photo you wish you had and Studio makes it from scratch. Tag your people to put them in it.
- Image to Image
- Bring a photo you already have, describe the change, and Studio applies it. You can attach up to ten images at once.
- Actions
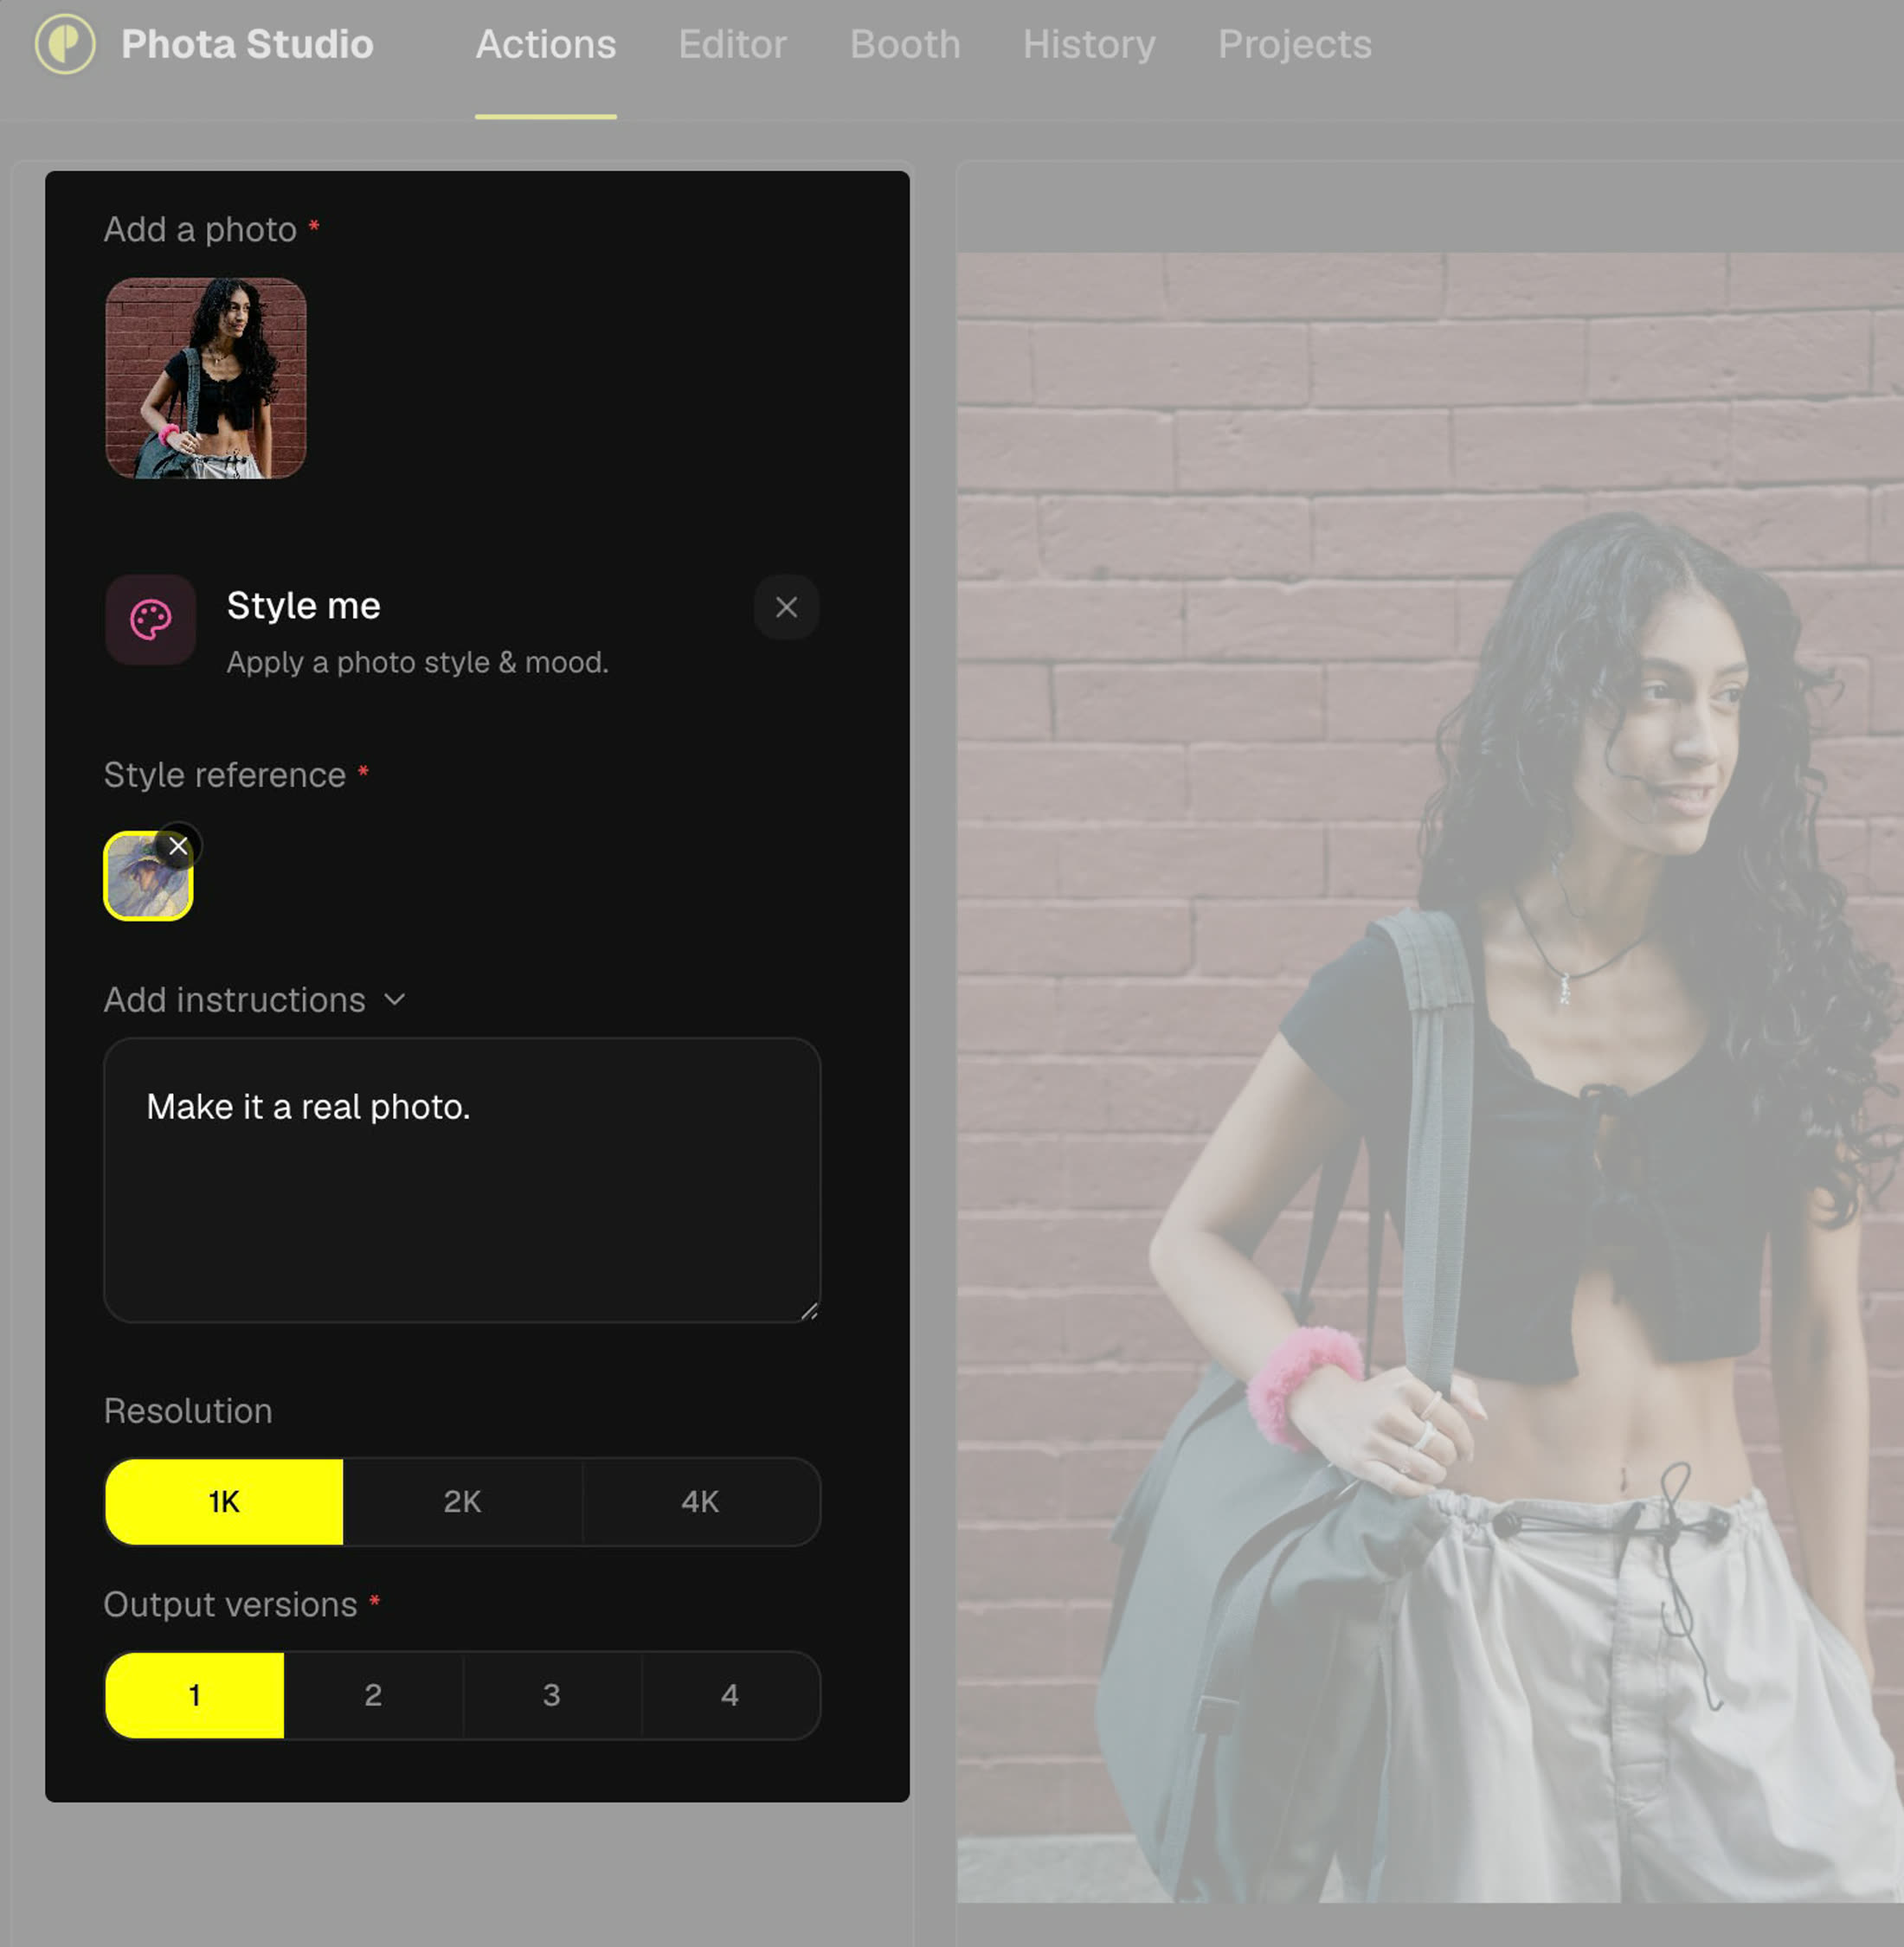
- The four most common edits, each one click, with no prompt to write. Picking Add people or Style me opens a tray in the bar for what that action needs.
Tag people with @mentions
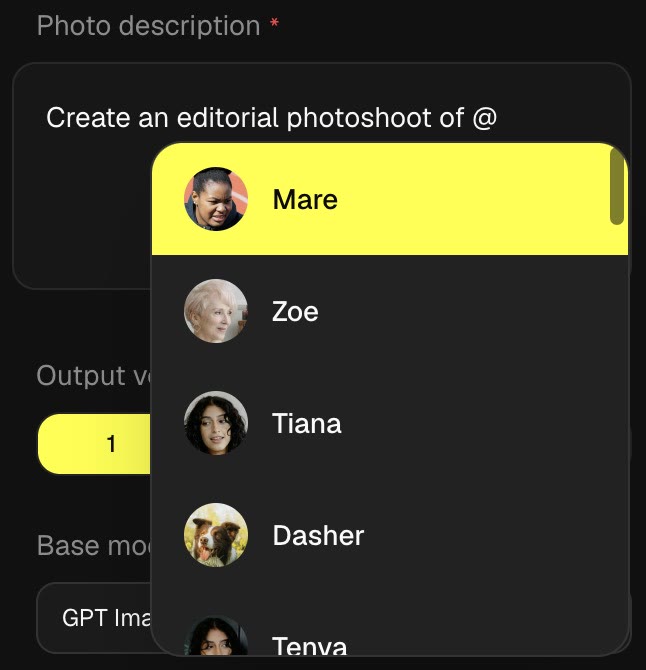
A tag is how you tell Studio which trained profile a prompt is talking about. Type @ anywhere in a prompt and pick a profile from the list that appears. The tag highlights in yellow once it matches. Tags work in Generate prompts, Editor instructions, and the optional instructions on a quick action.
Without a tag, Studio has no way to know which of your people you mean, and will render a generic face instead. A tag that does not match a profile shows a question-mark badge; click it to correct the name.
The four quick actions
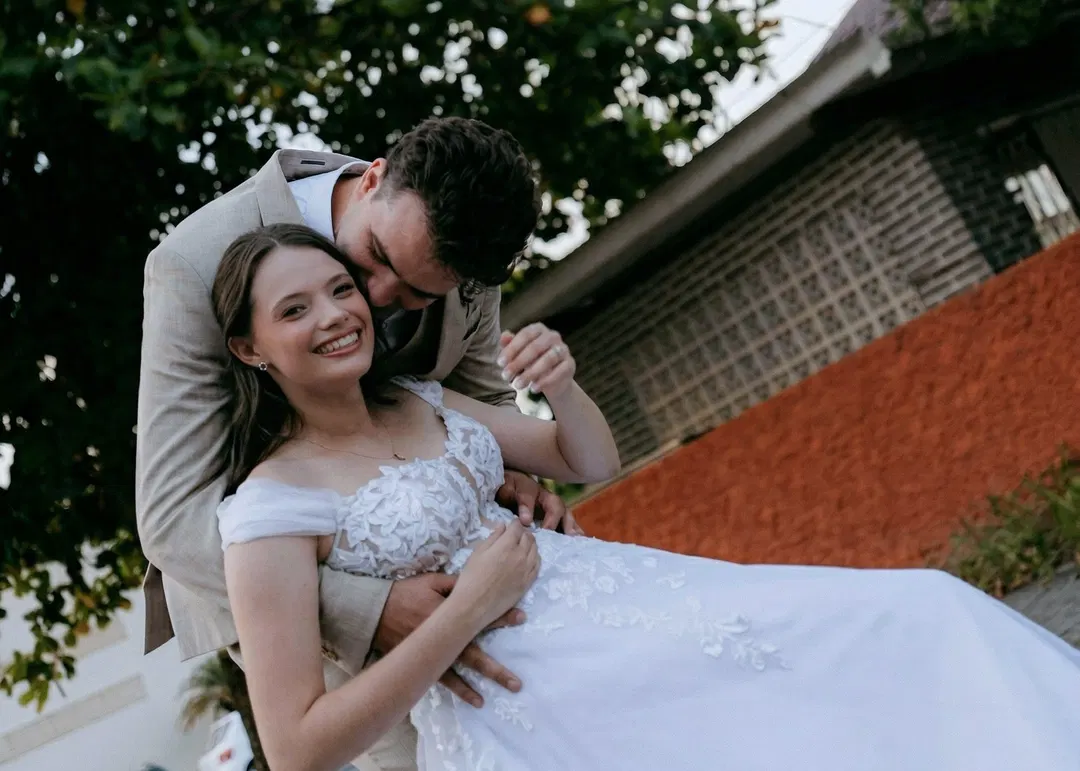
Fix it
Restores clarity and detail in a photo that came out soft, noisy, or badly lit.
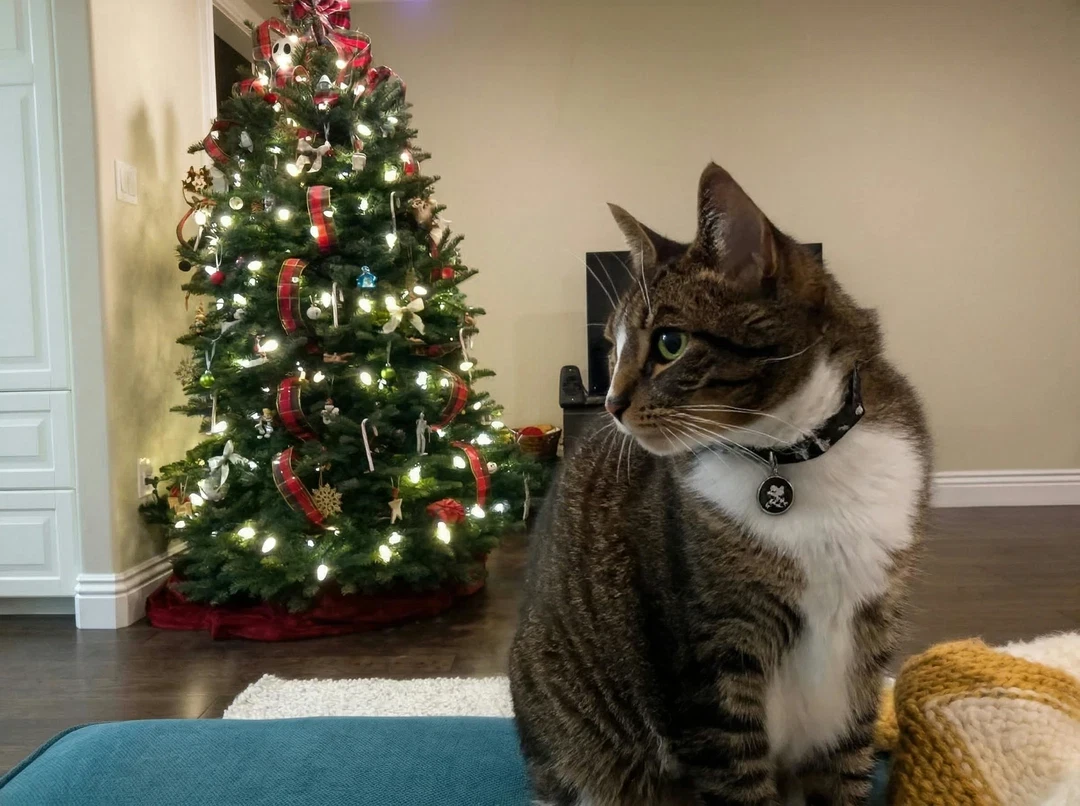
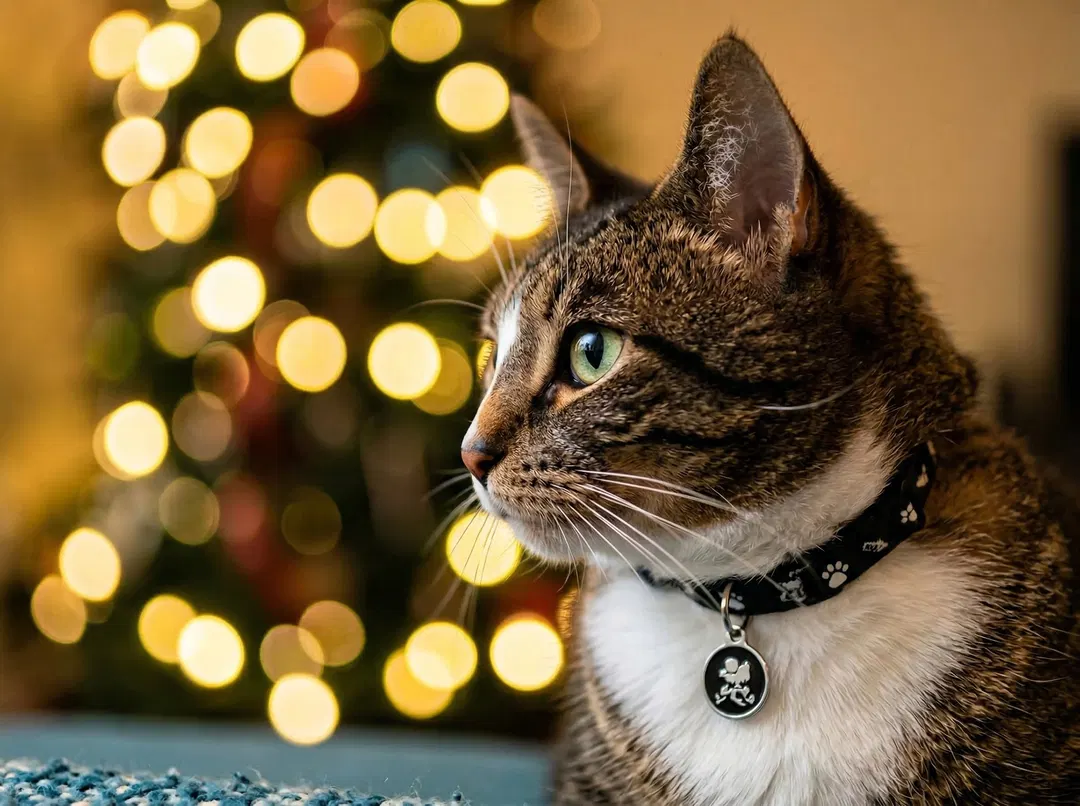
Pro look
Polishes an ordinary photo into a professional-looking shot.
Add people
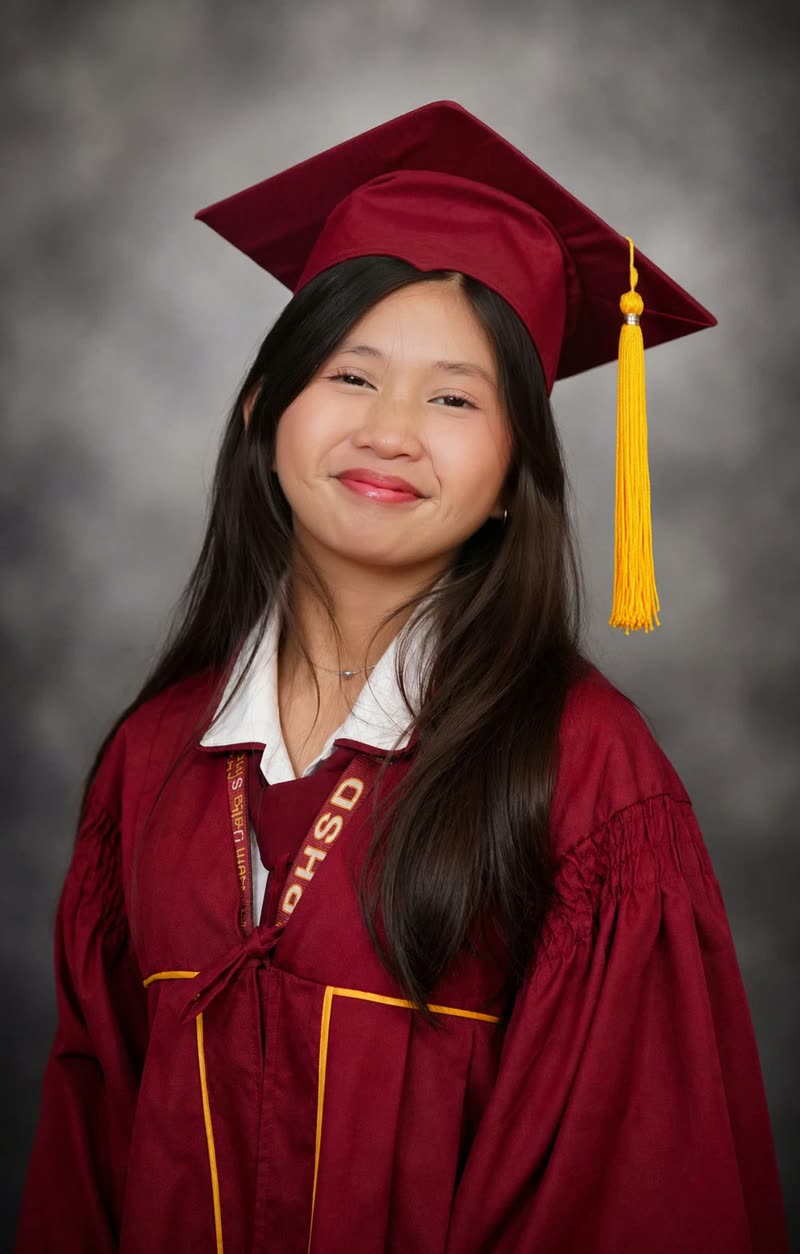
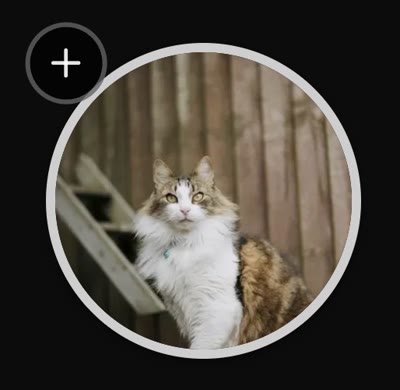
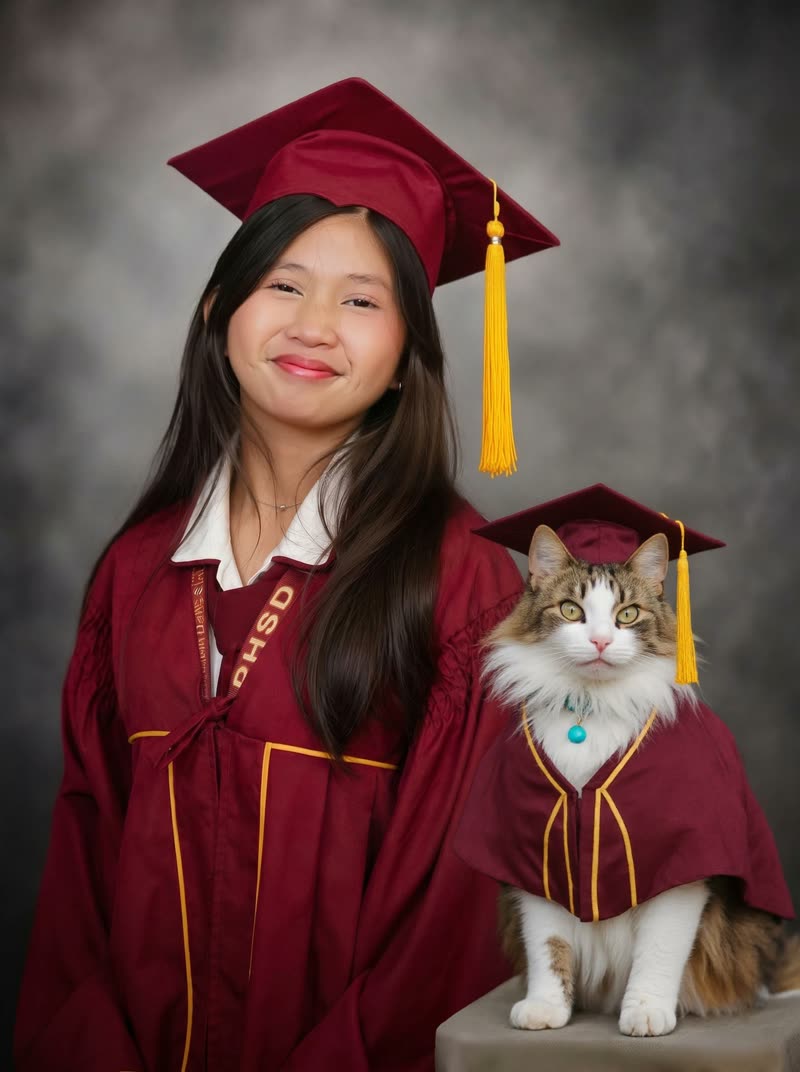
Adds people and pets to a photo they were not in. Pick who from your trained profiles.
Style me
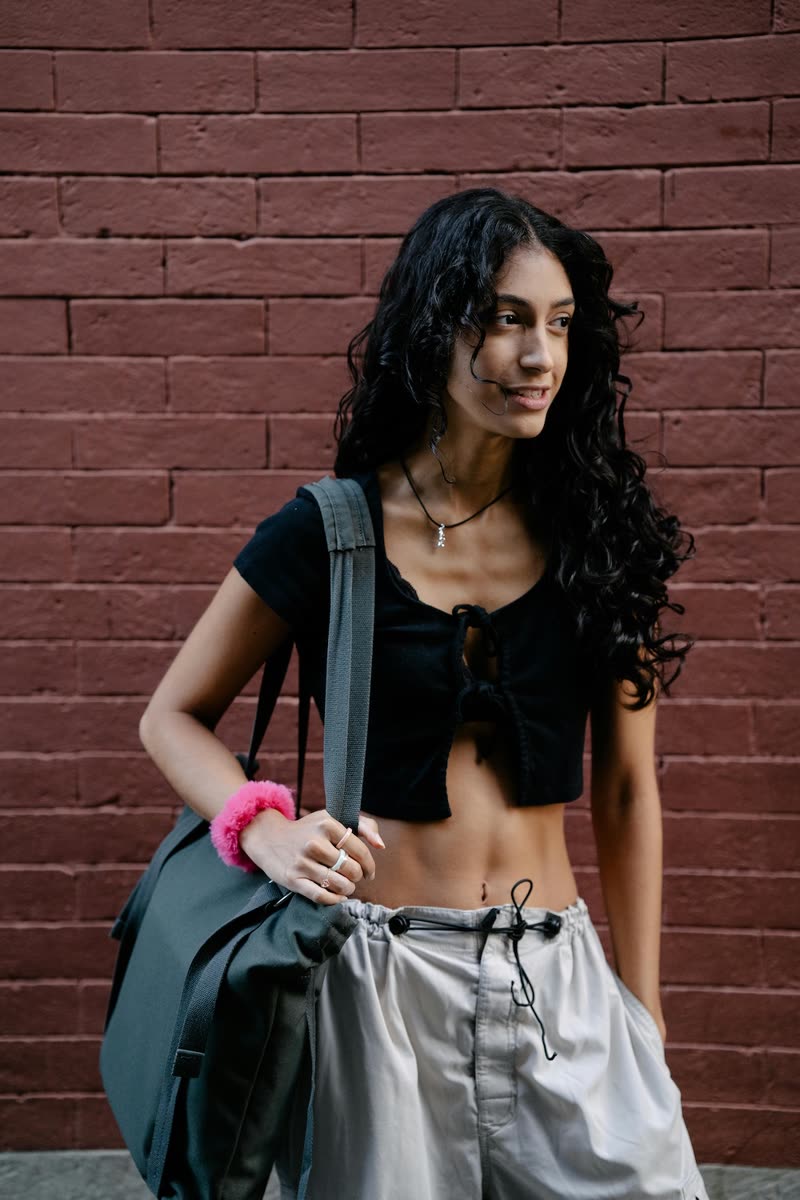
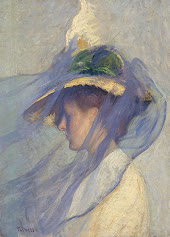
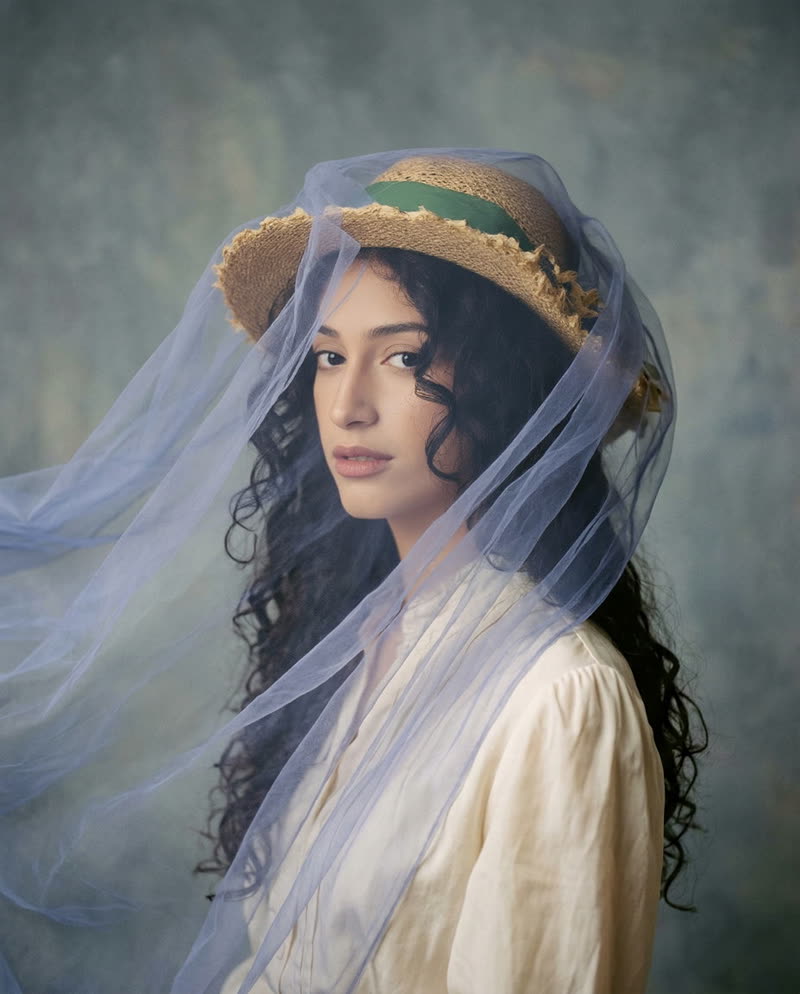
Applies the look of a reference photo you supply to your photo.
Name the faces in a photo
When you bring your own photo in, Studio finds the faces. Telling it who is who is what keeps the right identity through an edit.
Detected faces appear as circles on the photo. Any face that hasn’t been assigned to a profile is marked Unknown. Click a face to open the assignment popover, then choose a profile from the list or search by name.
You can change an assignment at any time by clicking the face again. If Studio guessed wrong, correct it here. Rewording the prompt won’t fix an incorrect assignment.
An unknown face will still render, but the model won’t know whose identity to preserve. For anyone who appears regularly in your photos, train a profile for them and assign it here. That’s what keeps them looking like themselves through an edit.
Choosing a base model
Phota is model agnostic. Your profile works across every base model Studio offers, so which one you pick is a question of the look you want.
Studio offers four base models. Nano Banana 2 is the default and the safest starting point. The picker lives behind the output settings chip in the command bar’s footer — the compact readout of versions, model, aspect ratio, and resolution. Switch when you want a different look, and expect the settings to move with it: a model that does not support 4K or the Auto aspect ratio drops those options, and the picker snaps to a supported value.
The model you pick does not change what an image costs. Studio bills by resolution alone: 2 credits at 1K, 3 at 2K, 4 at 4K.
| Model | Resolutions | Auto aspect ratio |
|---|---|---|
| Nano Banana 2 | 1K, 2K, 4K | Yes |
| GPT Image 2 | 1K, 2K, 4K | Yes |
| Seedream 5.0 Pro | 1K, 2K | Yes |
| Flux 2 Pro | 1K, 2K | No |
Nano Banana 2 is the default. Fixed aspect ratios (1:1, 3:4, 4:3, 9:16, 16:9) are available on every model. Other models exist behind the Phota API but are not offered in Studio.
Ask for a feature
Tell us what is missing, or what is not working.
Send feature requests, bugs, and questions to support@photalabs.com. If it is about a specific result, include the photo and the prompt you used.